It’s the most wonderful time of the year. That means it’s the most wonderful time to DIY. And with everything else going on in your life at this season… we need a simple DIY that won’t add one more thing to your plate. Enter DIY Christmas Tree Box. It’s simple. It’s adorable. And it is amplifying your already beautiful tree.

I’ve always loved the look of Christmas tree boxes, but I never quite got around to making one for myself. This year, I knew I wanted to build one, but I looked everywhere for a more modern version and couldn’t find anything I liked or anything that was even similar to what I was looking for.
All the boxes had either a basic slat pattern or an X pattern, and most modern trees were being put in baskets… and don’t get me wrong… I like the look of the baskets, but I wasn’t ready to pay a lot of money for them. (If you know me- I’m all about DIY on a budget. Reusing pieces from holiday to holiday- just like my magical changing bench– and even building things that can stay out year-round like this shelf!)
The idea to make one with a mosaic pattern popped into my head, and I couldn’t stop thinking about it. I had a million other things to do, but I immediately dropped everything and started building my DIY Christmas Tree Box. Ha!
So let’s get on to the tutorial!
This post contains affiliate links. Please visit my disclosure page if you would like more information and thank you for your support.
** This is my original design and idea. I hope to see many more in the future and would love to see what you create using my design as inspiration. Please feel free to tag me on Instagram or Facebook, and I will share in my stories. I love seeing what you come up with! **
Supplies needed for your DIY mosaic Christmas tree box:
– .75″ poplar plywood (dimensions will depend on your tree stand size – see step 1)
– Any 1 x poplar material to rip into smaller pieces for the mosaic pattern (or see step 2 for other alternatives)
– Wood filler
– .75″ brad nails![]()
– 1.25″ Kreg pocket hole screws
Tools needed to build a modern Christmas tree stand
–Table saw
– Brad nailer
– Miter saw
– Electric sander (I prefer an orbital sander)
– Kreg pocket hole jig
Step 1 – Measure your tree stand for your Wooden Christmas tree stand
I set up my Christmas tree metal stand and measured from corner to corner (or leg to leg). My tree is 10′ tall and fake, and I measured about 24″ from the outside of one leg to the outside of the next. I knew I wanted a little wiggle room, and two of my sides would be inset on the other sides, so I decided to go with 27″ and 12″ tall from floor to the base of the tree.
**You may find it helpful to put on the bottom layer of the tree if it’s a fake tree, but I wouldn’t assemble the full tree until after you finish putting your box together. I’m guessing smaller trees have smaller stands? Feel free to correct me if that is wrong…
Step 2 – Cut your Christmas stand lumber
I got lucky and had some 3/4″ poplar plywood left over from my pantry build (see my Instagram feed for more pics and details on that!). And they were even ripped to 12″ since that was the depth of my upper shelves! I considered it a sign that I should build this stand. 😉
You can probably get away with a 24″ wide box and just use a 2 ft x 4 ft sheet of plywood and have it ripped right there in the home improvement store. You’ll need to account for two sides being 1.5″ smaller on the inside since they will be inset in the other two sides when assembled. I chose to keep mine like this (so a tiny bit of a rectangle rather than a perfect square) to make it easier when cutting the mosaic pieces. It was much easier to design 4 identical panels rather than account for two being shorter.
**Be sure to account for blade width! So if you’re trying to get 4 even pieces out of one panel, be safe and do 11.75″ wide.
I chose poplar for my plywood and my mosaic because I love the look of it unstained and wanted that light color. This project could definitely be done with alternative lumber, though! You know how I love to see your tweaks on my ideas.
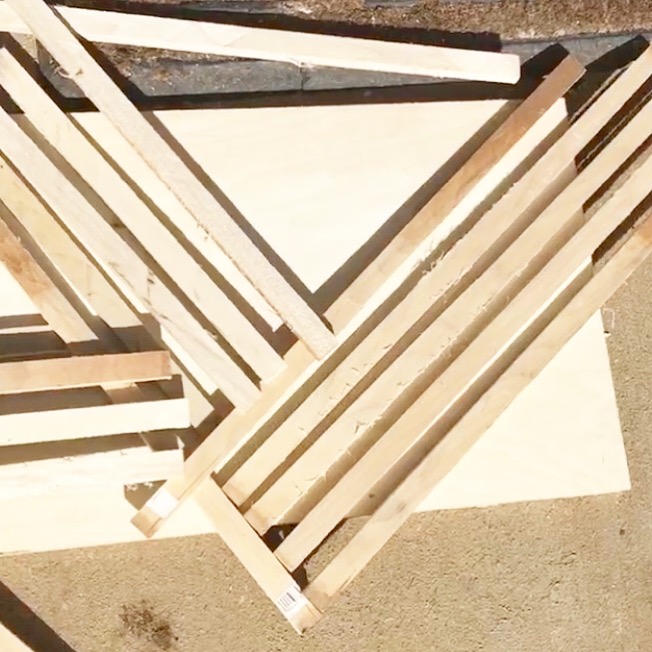
I ripped dozens of 3/8″ pieces of poplar out of scrap 1×4’s and 1×6’s that we had from doing our baseboard and door and window trim in our home addition. So yes! This was an entirely free project for me. Not to mention… I got rid of lots of our scrap wood! The amount you need will depend on how detailed you want your mosaic to be. It would be safe to guess that I probably used one 1×6 x 8′ long. I might have to make another one just to be sure. 😉
The I ripped a piece to 1.25″ and then turned it on its side and ripped it into 3/8″ pieces. I used this to trim the visible plywood edges after I was finished and kept it the same width as the mosaic pieces.
**ALTERNATIVE – If you don’t have a table saw or are uncomfortable using one, you could also purchase a very thin hardwood spline. It would have more of a rounded look, but it would be easier and wouldn’t require the use of a table saw.
Step 3 – Drill pocket holes in your plywood
I took two panels of my cut plywood and set my Kreg pocket hole jig to 3/4″ lumber. Then I drilled 4 holes in each side of two panels. Don’t assemble them yet since it will be much easier to attach the mosaic pattern with them down flat.
Step 4 – Sand your wood mosaic strips
You could do this step after cutting your small pieces, but I found it much more manageable to sand the long strips and then just do touch-up sanding on the ends after making my miter cuts.
Step 5 – Make it cute! (A cute tree stand is a MUST)
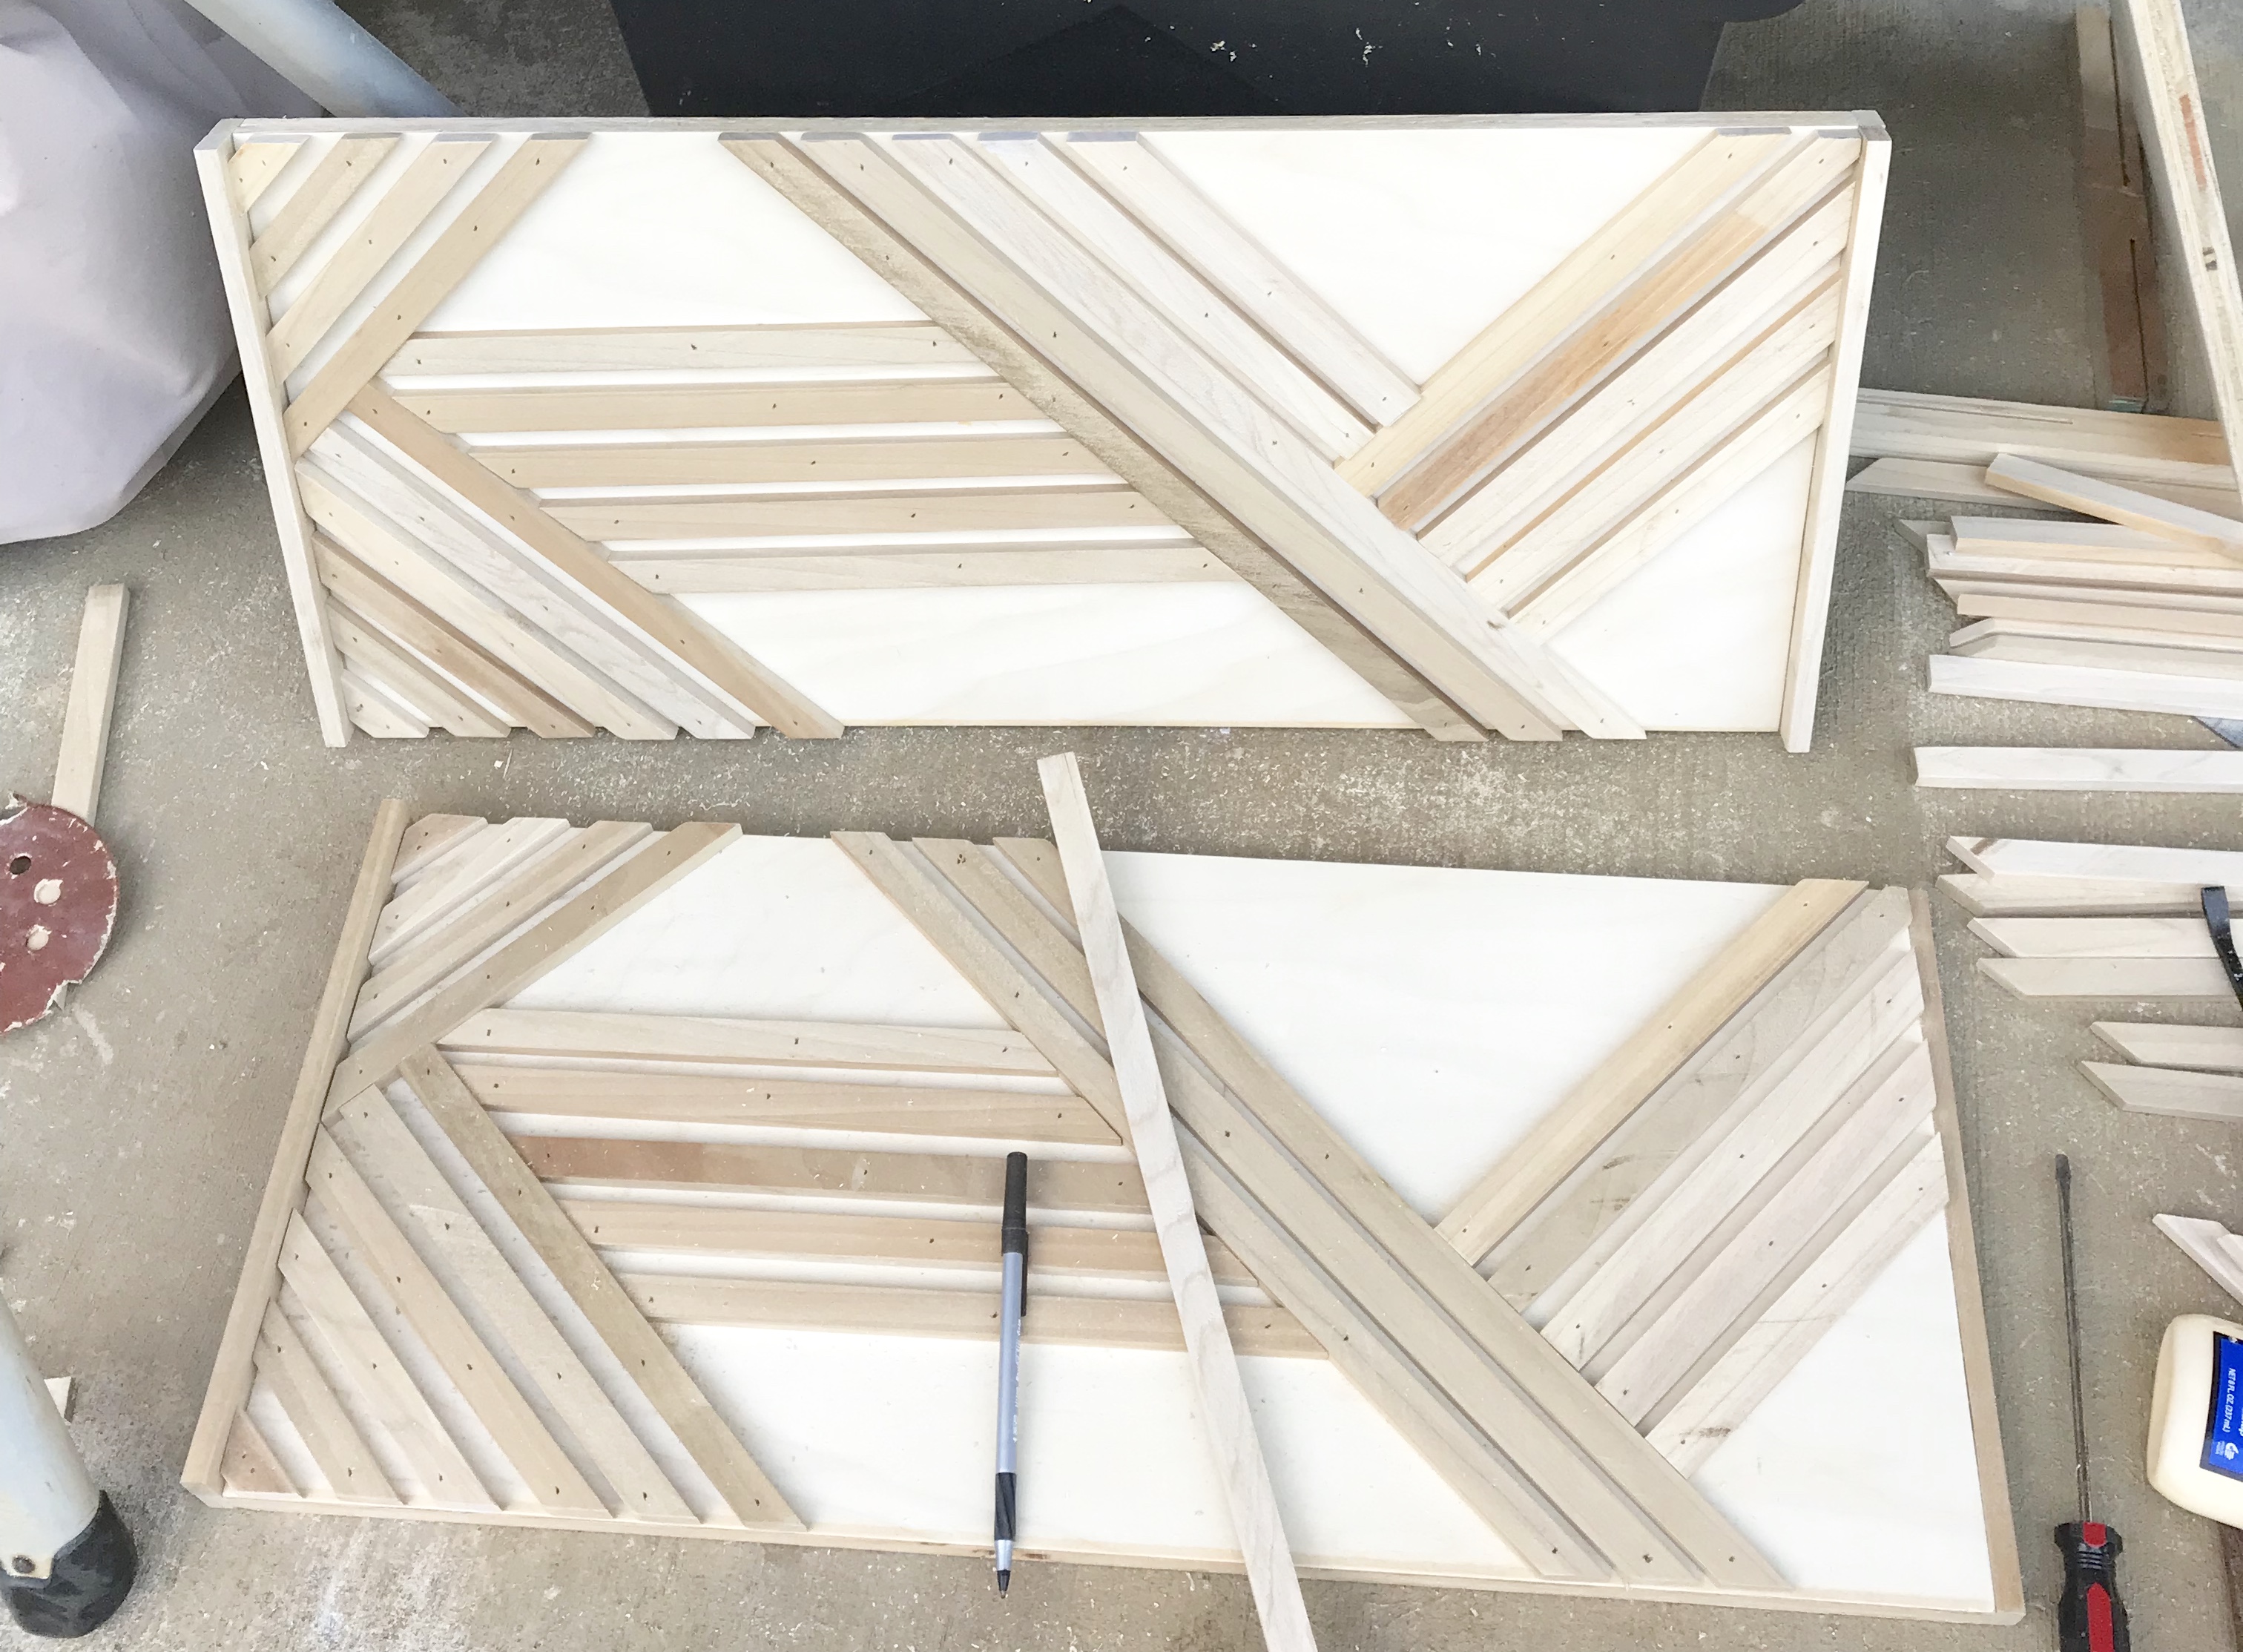
This part was easier for me since I had lots of small pieces. It might be more complicated with just a few long pieces. You could either sketch it out on paper and just cut and adjust as you go. You can also cut one of your strips into random smaller pieces and place them around to see what you like. To make my life easier, I stuck with all 45-degree angles. I knew I had to do TONS of these and wanted to make it just a touch more simple.
Step 6 – Cut your wood mosaic pieces
I used my miter saw for this. I laid out all 4 of my panels and then started in one corner. It made it easier to cut all 4 matching pieces before moving on to my next piece. I just laid the strip right on the plywood and marked where I needed to cut, using only straight zero-degree cuts or 45-degree angles.
Towards the end, my pieces were in slightly different places on each panel, so for those last 5 or 6 cuts, I had to measure on each individual panel rather than cutting 4 of the exact same pieces.
Step 7 – Attach the wood mosaic pieces
Lay your panel pieces out with the pocket holes facing down.
I normally use wood glue when doing my mosaics. But these pieces were so tiny, and I knew it would be very difficult to sand in between them. Because they were so small, I decided to forego the wood glue and just nail them on. I used 3/4″ brad nails and 18 gauge brad nailer to attach. And I did each panel individually just to make sure I liked the look.
Then I also attached the trim to the two panels without pocket holes.
Step 8 – Fill holes with wood filler
My favorite wood filler is DAP Plastic Wood. It’s a lot of tiny holes to fill, and you’re definitely welcome to leave it as is, but I prefer the look of filled holes. It does require some sanding afterward, though!
Step 9 – Assemble your Wood Christmas tree box
And now’s the fun part! Use your 1.25″ Kreg pocket hole screws![]() to assemble the box. I again opted to omit the wood glue since I knew the box would be for decoration only. I wanted to be able to remove the screws, so I can store 4 panels flat instead of lugging around the huge box. That was a big bonus for me!
to assemble the box. I again opted to omit the wood glue since I knew the box would be for decoration only. I wanted to be able to remove the screws, so I can store 4 panels flat instead of lugging around the huge box. That was a big bonus for me!
This wood box stand has a rustic feel- to find some woodsy and rustic decor to the tree:

- Rustic Christmas Ornaments- plaid balls
- Rustic Star Tree Topper
- Wooden Hanging Snowmen Ornaments
- Rusty Acorn Jingle Bells
That’s it! A modern, DIY Christmas tree box for about $30 if building a 24″ box!

More Christmas ideas to DIY
One thought on “DIY Wood Christmas Tree Box”